Our daughter is obsessed with arts and crafts and fun hands-on activities, so when I stumbled upon shaving cream dyed Easter eggs a couple of years ago, I knew that it was something we needed to try. I can say without a doubt that it was a success and it was an easy project to pull together with stuff we already had in the house. If you or your kids are looking for a fun alternative to the old fashion way of dying Easter eggs, look no further! Shaving cream dyed Easter eggs will allow your kids to get messy, express their creativity, and will result in cool marbleized designs that you just can’t get with old-fashion egg dyeing.
Required Items for Shaving Cream Dyed Easter Eggs:
- Boiled eggs
- Shaving cream (not shaving gel, cheap old fashion Barbasol works great)
- Food coloring (recommend McCormick’s Neon food coloring for more vibrant colors or a gel food coloring)
- Glass baking dish or metal baking sheet
- Straw, toothpick, plastic knife or popsicle stick (to gently mix the shaving cream/food coloring mixture)
- Paper towels (to help contain the mess)
- Egg carton, tray or something to set the eggs on while they sit in your shaving cream/food coloring mixture
NOTE: If you plan on eating your eggs at a later point in time and are worried about using shaving cream, you can substitute whipped cream for shaving cream. In order to get brighter colors, add a couple of drops of vinegar to your food coloring before distributing it in the shaving cream. Before rolling the eggs in the whip cream/food coloring mixture, soak the eggs in vinegar for two (2) minutes. (Don’t let the eggs sit in vinegar for too long; otherwise, they will take on a speckled look.) Then proceed as you would with the shaving cream dyed Easter eggs.
Optional Items for Shaving Cream Dyed Easter Eggs:
- Disposable gloves (food coloring can temporarily stain skin and most kids love playing with them)
- Apron or old t-shirt (food coloring can stain clothing)
Let’s Get Started!
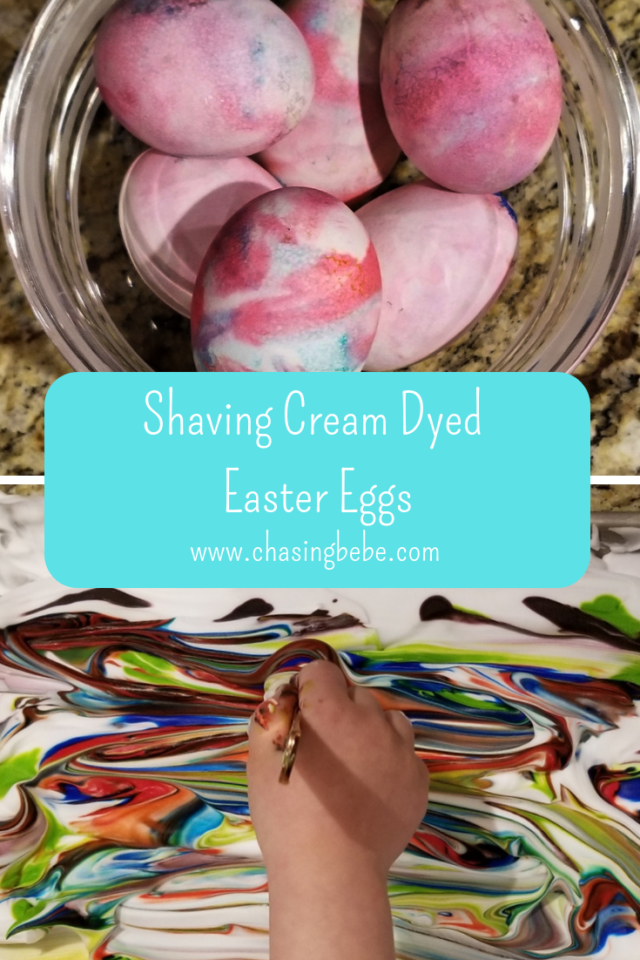
Start by squirting the shaving cream into your glass baking dish or metal baking sheet. Spead the shaving cream out evenly. Take your food coloring and drip a couple of drops of each color throughout the shaving cream. Try to space your drops out so that the colors don’t overlap. You will not need a lot of food coloring! A few drops of each color will suffice. Take your toothpick/straw/plastic knife/popsicle stick and gently swirl the colors together to create a tie-dye look. Make sure to not stir the colors together too much as you will get less of a tie-dye look and more of a muddle color look.

Take your eggs and roll them in the shaving cream until they are completely covered. Let the eggs sit for at least 10 minutes. The longer the eggs sit in the shaving cream/food coloring mixture, the more vibrant the colors will be. You can wipe away a small portion of the shaving cream to check on the dyeing process. Once you are satisfied with the coloring on the eggs, gently, wash the shaving cream off and gently dry the eggs with a paper towel.

There You Have It! Beautiful Shaving Cream Dyed Easter Eggs!
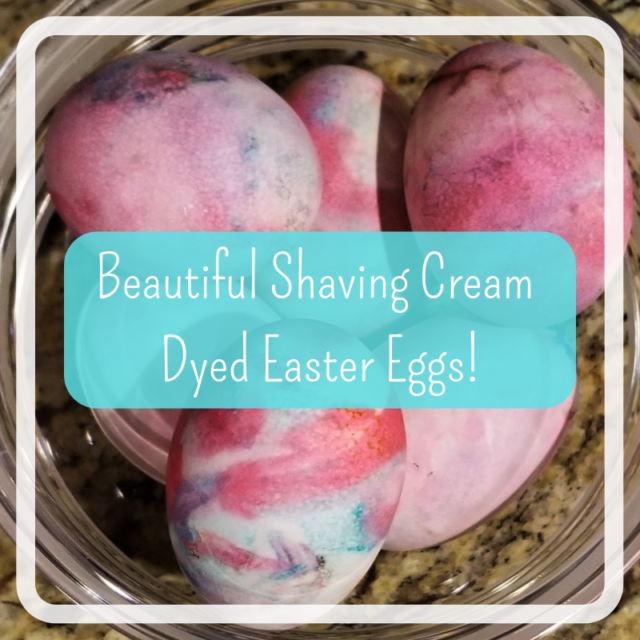
This fun activity has become one of our daughter’s favorite Easter-related activities. Hopefully, your family will enjoy it just as much as we have. For additional kid-friendly hands-on activities, check out our other post under Kids Life.


Leave a Reply